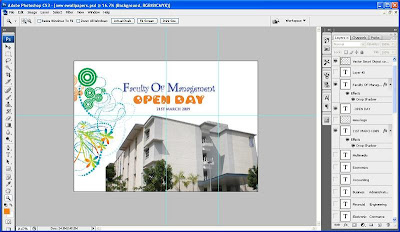
Hello everyone out there, I am currently feel free to upload the progress or the making of my FOM Open Day e-Wallpaper. I would like to share below how the e-Wallpaper get done.
Hopefully, I can explained a little bit about my assignment progress and hopefully I'll get a useful comments from you all, please share your tips with me.
After done the e-Wallpaper, I would like to conclude that, Layer was the most important in the photoshop. So, master the layer was the must for photoshop. Its make your life easier.

1. Create a new file by pressing ctrl+N.
2. Then choose A4 size, from the Preset, choose International Paper.
3. At the size there, I had chosen an A4 size.
4. Finally, a New image will be created but in a portrait style but I've already change the image to Landscape style.

1- A blank of white colour background has been appeared on the screen.
2- I would like to add something on it. Yes, of course a new design for my new background which is blue but ermm, blue mostly had been chosen by my other peers. So, I just keep remain the white colour as a background.
3- Basically, a picture of newly built main building of FOM has been taken for my e-Wallpaper. Open the FOM Building image file from the Reference folder. In the new image File, right click on the layer, Duplicate layer.
4- So, I can drag and drop the layer into the e-Wallpaper image.
5- Alright, now by using Move Tool, drag and drop the FOM Building file into the e-Wallpaper image.
6- The image seems too big in the e-Wallpaper image. To resize it, go to the Edit button and then click Transform button, follow by scale.
7- The size of the FOM Building layer can be adjusted freely.


No comments:
Post a Comment